
Why Condenser Location Critically Affects Performance
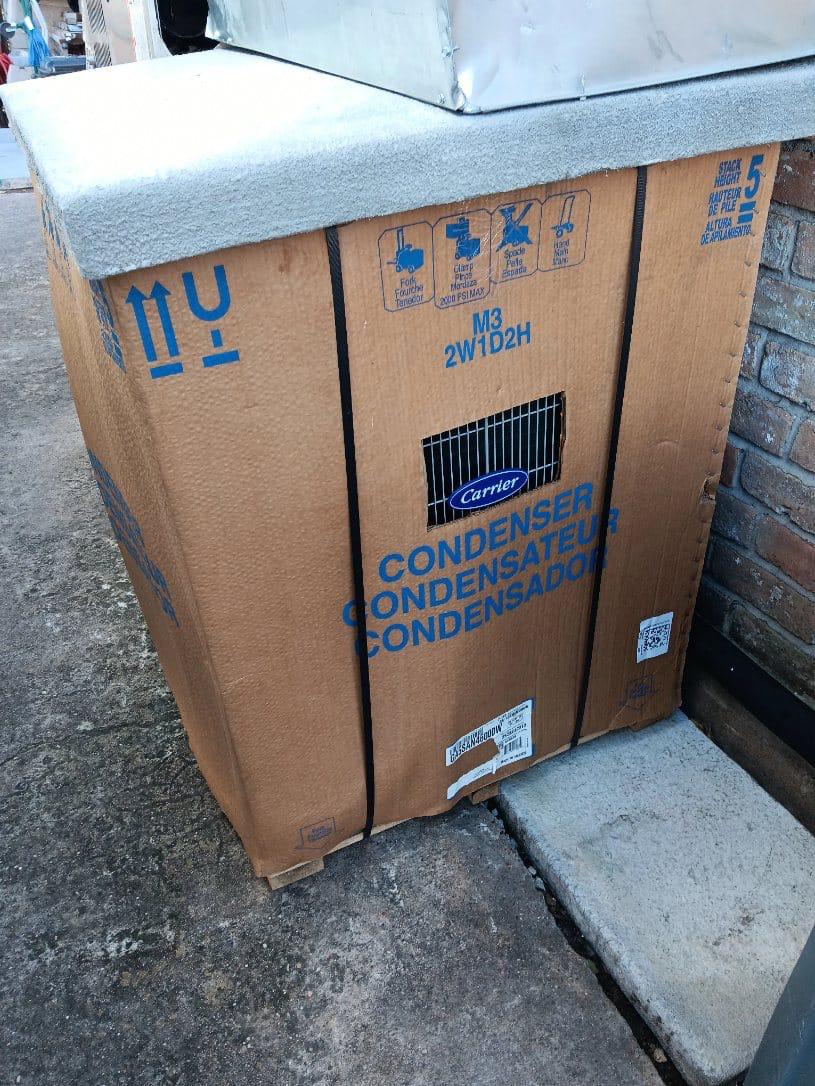
The condenser unit is where your HVAC system rejects heat absorbed from inside your building. The refrigeration cycle depends on the condenser being able to efficiently transfer heat from the hot refrigerant to the outdoor air. When condenser placement compromises this heat rejection, the entire system suffers.
The Physics of Heat Rejection
Condenser performance depends on the temperature difference between the hot refrigerant inside the coils and the ambient air outside. The greater this temperature difference, the more efficiently heat transfers. Houston's summer temperatures (frequently 95-105°F) already reduce this temperature difference significantly compared to cooler climates.
Poor condenser placement can worsen this problem by:
- Restricting airflow: Condensers need massive amounts of air moving across the coils—restricted airflow forces the system to work harder
- Recirculating hot air: If discharged hot air gets pulled back into the condenser, efficiency drops dramatically
- Exposure to additional heat sources: Nearby exhaust vents, dark surfaces, or reflected heat raise local air temperature
- Blocking service access: Difficult access leads to deferred maintenance, causing preventable failures
Performance Impact by Installation Quality
| Installation Quality | Efficiency Impact | Lifespan Impact | Operating Cost Impact |
|---|---|---|---|
| Optimal placement & installation | Baseline (100%) | Full rated life (15-20 years) | Baseline |
| Minor clearance issues | -5% to -10% | -2 to -4 years | +8% to +15% |
| Significant placement problems | -10% to -20% | -4 to -7 years | +15% to +30% |
| Severely compromised location | -20% to -35% | -7 to -10 years | +30% to +50% |
For a 20-ton commercial system, a 20% efficiency loss translates to $3,000-$6,000 in additional annual energy costs. Combined with shortened lifespan and increased repairs, poor installation can cost tens of thousands over the equipment's life.
Ground-Level vs. Rooftop Installation
Commercial condensers can be installed at ground level or on rooftops, each with distinct advantages and considerations for Houston properties.
Ground-Level Installation
Advantages:
- Easier service access—no ladder or roof access required
- Lower installation costs—no crane rental needed
- Better foundation stability on concrete pads
- Potential for natural shading from buildings or landscaping
- Less exposure to extreme rooftop temperatures
Challenges in Houston:
- Flood risk during heavy rains—requires elevated mounting
- Debris accumulation from landscaping and foot traffic
- Security concerns in some locations
- Limited space in dense commercial areas
- Noise considerations for neighboring properties
Best Practices for Ground-Level:
- Elevate on concrete pad minimum 3-6 inches above grade (more in flood-prone areas)
- Install on north or east side of building when possible
- Maintain minimum 24-36 inches from walls and structures
- Consider security fencing for theft-prone areas
- Plan for drainage away from the unit
Rooftop Installation
- Maximizes ground-level space for business operations
- Better security—less accessible to tampering
- Shorter refrigerant line runs for many buildings
- No flood risk concerns
- Often better airflow with fewer obstructions
- Extreme rooftop temperatures—Houston roofs can exceed 160°F in summer
- Higher installation costs due to crane requirements
- More difficult service access affects maintenance frequency
- Roof structural considerations for weight
- UV exposure accelerates component aging
Best Practices for Rooftop:
- Use curb adapters with proper height for waterproofing
- Position away from exhaust vents and other heat sources
- Ensure adequate structural support verified by engineer
- Install on reflective roofing or use reflective coatings nearby
- Plan for crane access during future equipment replacement
Clearance Requirements for Commercial Condensers
Proper clearances around condenser units ensure adequate airflow, service access, and code compliance. Insufficient clearances are the most common installation deficiency we encounter.
Standard Clearance Guidelines
| Location | Minimum Clearance | Recommended (Houston) | Purpose |
|---|---|---|---|
| Service/access side | 24-36 inches | 36-48 inches | Technician access for maintenance |
| Non-service sides | 12-24 inches | 24-36 inches | Airflow and coil cleaning access |
| Above unit (discharge) | 48-60 inches | 60-72 inches | Hot air discharge without recirculation |
| From walls/fences | 24 inches | 36-48 inches | Prevent heat reflection and airflow restriction |
| Between multiple units | 48-72 inches | 72+ inches | Prevent cross-contamination of hot air |
Why Houston Needs More Clearance
The "recommended for Houston" column exceeds standard manufacturer minimums because:
- Higher heat rejection demands: Houston's extreme temperatures require maximum efficiency from the condenser
- Extended cooling season: Equipment runs more hours annually, making efficiency more valuable
- Frequent coil cleaning: Houston's debris (pollen, cottonwood, industrial pollutants) requires more frequent coil access
- Future equipment sizing: Replacement units may be larger—extra clearance accommodates upgrades
Clearance Problems and Solutions
When existing installations have clearance issues:
- Partial wall/fence: Remove or relocate if possible; use louvered fencing if visual screening required
- Adjacent equipment: Install barriers to prevent hot air recirculation between units
- Overhead obstructions: Consider relocating or installing discharge duct extensions
- Vegetation encroachment: Establish regular trimming schedule; consider replacing with non-encroaching landscaping
Houston-Specific Installation Considerations
Houston's unique climate and conditions require additional planning beyond standard installation practices.
Extreme Heat Mitigation
With ambient temperatures regularly exceeding 100°F and rooftop temperatures reaching 160°F, heat management is critical:
- Orientation: Position units so prevailing winds (south/southeast in Houston) provide fresh air to intake sides
- Heat sources: Avoid locations near exhaust vents, kitchen exhausts, boiler flues, or transformer pads
- Surface reflection: Keep units away from highly reflective surfaces that concentrate heat
- Rooftop considerations: Install on lighter-colored roof sections or use reflective coatings within 10 feet of units
Flood and Drainage Considerations
Houston's flat terrain and intense rainfall create unique drainage challenges:
- Elevation requirements: Minimum 3-6 inches above grade; 12-24 inches in flood-prone areas
- Site grading: Grade should slope away from equipment location
- Concrete pads: Extend 6-12 inches beyond unit footprint with slight crown for drainage
- Flood history: Research property flood history and plan elevations accordingly
Hurricane and Storm Preparation
Houston's Gulf Coast location requires consideration of severe weather:
- Anchor bolts: Use properly sized anchor bolts rated for wind uplift
- Hail protection: Consider hail guards for condenser coils (available as aftermarket accessories)
- Debris impact: Position units away from large trees or structures that could fall or shed debris
- Electrical protection: Install surge protection on electrical supplies
Coastal Corrosion (Near Galveston Bay)
Properties within 10-15 miles of the coast face accelerated corrosion:
- Coil coatings: Specify factory-applied corrosion-resistant coatings (e-coat, phenolic, or epoxy)
- Hardware: Use stainless steel fasteners and mounting hardware
- Maintenance frequency: Plan for more frequent coil cleaning to remove salt deposits
- Rinse schedule: Fresh water rinse of coils monthly during summer

Professional Installation Standards
HVAC247PRO follows comprehensive installation standards that exceed code minimums for commercial condenser installations.
Pad and Foundation Requirements
Concrete Pad Specifications:
- Minimum 4-inch thickness for units under 10 tons; 6-inch for larger units
- 3,000 PSI minimum concrete strength
- Wire mesh or rebar reinforcement
- 6-12 inch overhang beyond unit footprint on all sides
- Slight crown (1/4" per foot) for water drainage
- Control joints if pad exceeds 10 feet in any dimension
Equipment Rails:
- Galvanized or polymer rails for elevated installations
- Minimum 3-inch elevation for debris clearance
- Level within 1/4 inch across equipment footprint
- Vibration isolation pads between unit and rails
Electrical Installation
| Component | Requirement | Purpose |
|---|---|---|
| Disconnect switch | Within sight, 3-50 feet from unit | Service safety |
| Wire sizing | Per manufacturer MCA rating | Prevent overheating |
| Breaker sizing | Per manufacturer MOP rating | Proper protection |
| Conduit type | Rigid or liquid-tight flexible | Environmental protection |
| Surge protection | SPD at disconnect | Lightning/surge protection |
Refrigerant Line Installation
- Line sizing: Per manufacturer specifications for actual line length
- Insulation: Continuous foam insulation on suction line, minimum 3/4" wall thickness
- Support: Proper hangers every 4-6 feet; no sagging or kinking
- UV protection: Outdoor insulation must be UV-resistant or jacketed
- Brazing: All joints brazed with nitrogen purge to prevent oxidation
- Leak testing: 500+ PSI nitrogen standing pressure test before charging
Startup and Commissioning
Professional commissioning ensures optimal operation from day one:
- Verify refrigerant charge using superheat/subcooling method
- Measure and document operating pressures and temperatures
- Check and record motor amperage (all phases)
- Verify proper contactor and relay operation
- Test all safety controls (high pressure, low pressure)
- Document baseline readings for future comparison
- Provide startup documentation to building owner/manager
Common Condenser Installation Mistakes
After 15+ years installing and servicing commercial HVAC in Houston, HVAC247PRO technicians have identified the most common installation mistakes:
Mistake #1: Inadequate Clearances
The most frequent problem we see—units installed too close to walls, fences, or other equipment. This causes:
- Restricted airflow reducing efficiency 10-20%
- Hot air recirculation during peak demand
- Difficult or impossible coil cleaning
- Accelerated compressor wear from elevated head pressure
Mistake #2: Improper Elevation
Ground-level units installed directly on soil or undersized pads:
- Flooding damage during heavy rains
- Settling causing refrigerant line stress
- Grass and debris accumulation blocking airflow
- Pest access into equipment compartments
Mistake #3: Heat Source Proximity
Condensers installed near exhaust vents, dryer vents, or other heat sources:
- Intake air pre-heated, reducing efficiency
- Grease and debris contamination from kitchen exhausts
- Corrosive gases from boiler flues damaging coils
Mistake #4: Poor Electrical Installation
Undersized wiring, improper disconnects, or missing surge protection:
- Voltage drop causing motor overheating
- Nuisance breaker trips during startup
- Surge damage from Houston's frequent lightning
- Safety hazards from improperly located disconnects
Mistake #5: Refrigerant Line Deficiencies
Improper sizing, inadequate insulation, or poor brazing practices:
- Capacity loss from pressure drop in undersized lines
- Energy waste from uninsulated suction lines
- Refrigerant leaks from weak joints
- Compressor damage from liquid floodback
Mistake #6: Ignoring Future Serviceability
Installations that make maintenance difficult or impossible:
- Units installed where coils cannot be cleaned
- No room for technician access during repairs
- Control panels facing walls
- Refrigerant connections inaccessible
Every installation decision affects years of operation. HVAC247PRO's approach prioritizes long-term performance, efficiency, and serviceability. Contact us at (346) 451-1559 for professional commercial condenser installation that follows these best practices.
Frequently Asked Questions
Commercial condenser units typically require 24-36 inches of clearance on the service access side, 12-24 inches on non-service sides, and 48-60 inches above the unit for proper airflow. Houston's extreme heat makes adequate clearance even more critical for heat rejection. Manufacturer specifications should always be followed, as requirements vary by unit size and design. Additionally, local codes may impose stricter requirements. In Houston's climate, we recommend exceeding minimums when possible—maintaining recommended clearances prevents efficiency losses of 10-20% and extends equipment life significantly.
While shade can improve condenser efficiency by 1-3% in Houston's extreme heat, proper airflow is more important than shade. Never sacrifice clearances for shading. Natural shade from mature trees can help if the unit remains clear of debris and maintains adequate clearance from branches. Artificial shade structures must not restrict airflow. Ground-level condensers benefit more from shade than rooftop units since rooftop temperatures are extreme regardless. The priority order for condenser location should be: adequate clearances first, good airflow second, and shade benefits third.
Commercial condensers should be at least 24-36 inches from building walls, though 48 inches or more is preferable for optimal performance in Houston's climate. Walls can reflect heat back toward the condenser, reducing efficiency. Corner installations between two walls should be avoided when possible as they create hot pockets of stagnant air. If walls are unavoidable, ensure the open sides have maximum clearance and consider the wall material—heat-absorbing surfaces (dark brick, metal siding) require greater distances than reflective or light-colored surfaces.
Ground-level commercial condensers in Houston should be elevated 3-6 inches above grade on a concrete pad or equipment rails. This elevation prevents flooding damage during heavy rains common in the Gulf Coast region, allows proper drainage around the unit, reduces debris accumulation from ground level, and provides a stable, level mounting surface. Flood-prone areas may require higher elevation of 12-24 inches based on property flood history. The concrete pad should extend 6-12 inches beyond the unit footprint on all sides and include a slight crown for water drainage.
Commercial condenser installation in Houston typically costs $3,000-$8,000 for labor and materials (excluding the condenser unit itself), depending on installation complexity. Rooftop installations cost 20-40% more than ground-level due to crane requirements and access challenges. Major factors affecting cost include: concrete pad construction ($500-$1,500), electrical work including disconnect and wiring ($800-$2,500), refrigerant line runs ($50-$100 per linear foot), crane rental if needed ($500-$2,000), and structural engineering for rooftop installations ($500-$1,500). HVAC247PRO provides detailed written quotes covering all aspects of the installation before work begins.